
Yes, little human! You totally can. And guess what? You don’t need a fancy ninja scroll or magical origami wand to do it. Just your hands, a square sheet of paper, and a little dash of patience.
So whether you’re prepping for Halloween decorations, want a cool craft for a rainy Saturday, or just love those little creatures of the night (but not the scary kind, promise), this is for you.
I’ll walk you through it, step by step, with fun tips and silly jokes along the way. Ready to become a Bat-Folder Extraordinaire? Let’s do this.
What You’ll Need:
- One square piece of paper (preferably black or dark gray, but hey—rainbow bats are a vibe too)
- Your hands (duh)
- A flat surface
- Googly eyes or markers (for personality!)
- Optional: parental supervision (if you’re under 6 or prone to turning paper into confetti)
Quick Story Time…
When I was about eight years old, I tried to fold a paper crane. It turned out… well… more like a paper blob. My dog sniffed it, looked disappointed, and walked away. Ouch. But I didn’t give up.
Then I discovered bat origami—and boy, was it a game-changer. It looked cool, was easier than a crane, and I could make a whole swarm in like 20 minutes. My room? Bat cave status achieved.
So yeah, if little me can do it, you definitely can.
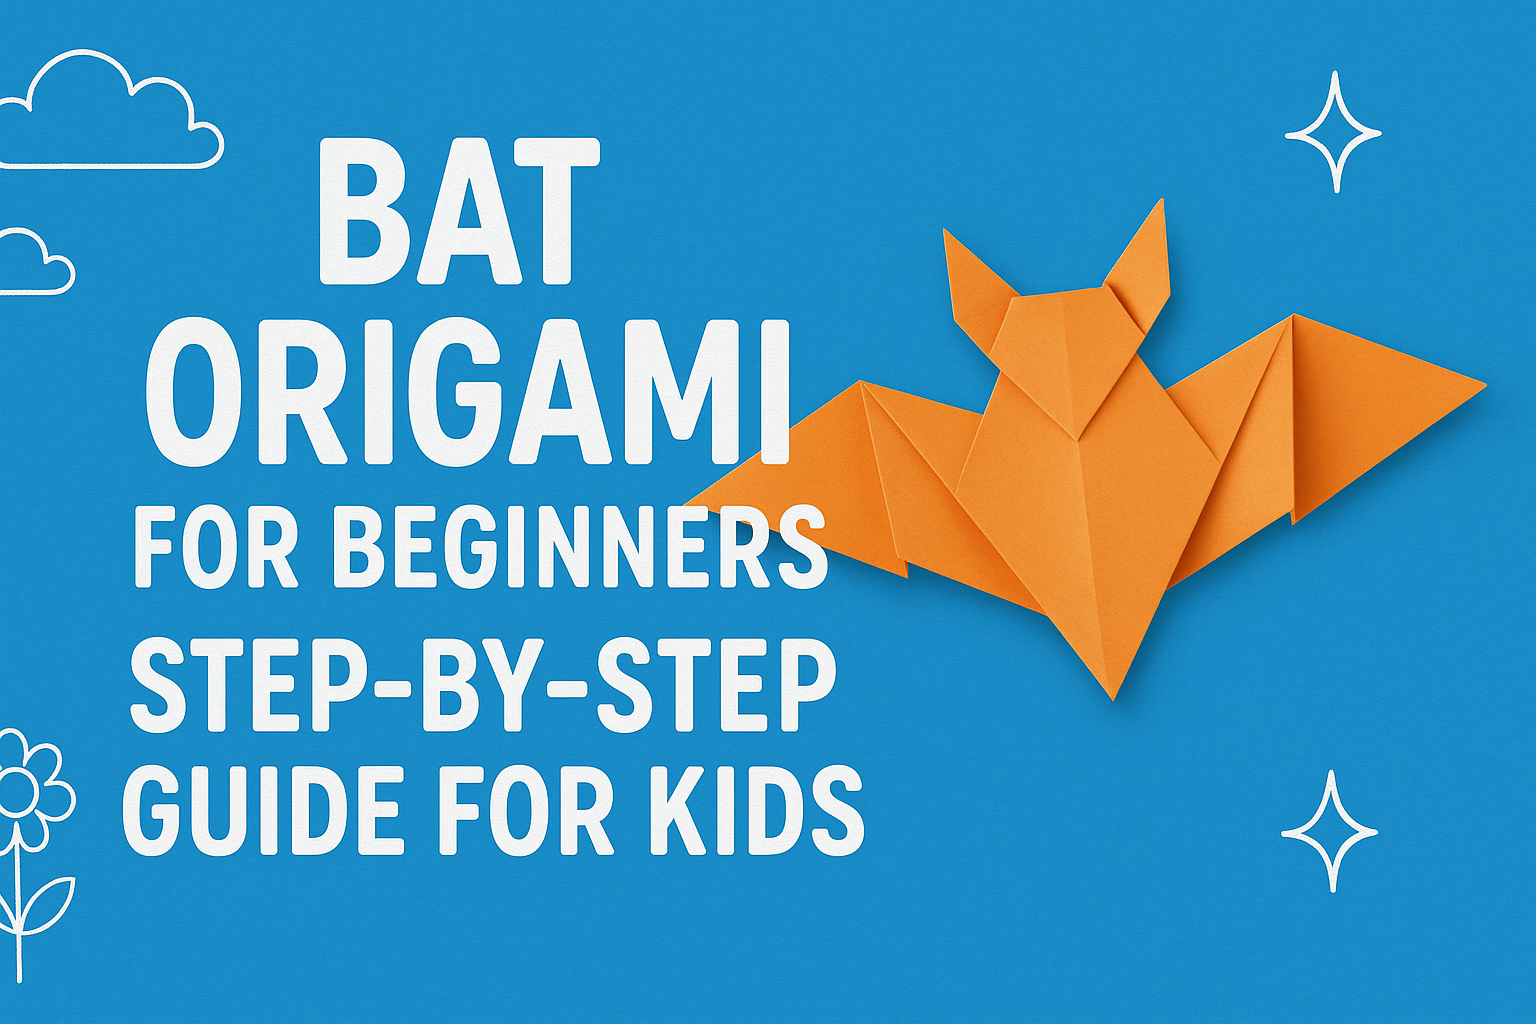
Let’s Get Folding: Step-by-Step Bat Origami Guide
STEP 1: Start With a Square
If your paper’s not already square, grab some scissors and trim it up. No rectangles allowed in Bat School.
Tip: Lighter paper folds easier for tiny hands.
STEP 2: Fold Diagonally (Triangle Time!)

Take the top corner and fold it down to meet the bottom corner. You’ve now got a triangle. Congrats! That’s Bat Ears Phase One.
Smooth down the crease like you’re ironing a tiny paper cape.
STEP 3: Fold That Triangle in Half
Now fold your triangle in half again, from pointy corner to pointy corner (the long edge gets folded). You should have a smaller triangle now.
Then… unfold it! Yep, just like that. You’ll see a crease in the middle. That’s our secret bat spine.
STEP 4: Fold Down the Ears
Take the left and right corners of your triangle and fold them down at an angle, just like little bat ears sticking out from the top. The folds should look like they’re smiling at you.
Boom. You’re already giving that bat a face.
STEP 5: Fold the Bottom Corner Up
Now take that bottom pointy corner and fold it up towards the top, but not all the way. It should peek up in the middle between the bat ears.
Why? This forms the body of the bat and gives you that cute rounded belly look.
STEP 6: Fold the Wings!
This is the part where your bat becomes a flying creature.
- Take the left side of your paper and fold it diagonally down so it angles outward. That’s wing one.
- Now do the same on the right. That’s wing two.
You should now see a body in the middle with two wide wings flapping out like a superhero mid-flight.
Tip: Keep it symmetrical, unless you want a funky bat. Funky bats are allowed here.
STEP 7: Add Personality!
Got a marker? Draw eyes, fangs, maybe even a little bow tie.
Got googly eyes? Even better—stick them on.
Want to get extra with glitter or stickers? DO IT. Sparkly vampire bat? Iconic.
BONUS IDEAS FOR YOUR BAT ARMY
Once you fold one, trust me—you’ll want to fold like, twenty. Here’s what you can do with them:
- Tape them to your bedroom wall for spooky vibes
- String them together for a Halloween garland
- Use them as bookmarks (because bats read too, duh)
- Gift them to friends as “Batty Surprises”
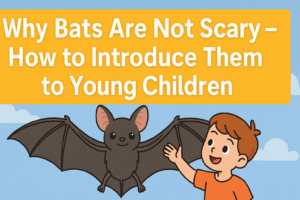
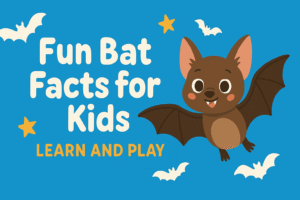
Did You Know?
Real bats aren’t scary! They actually help pollinate plants and eat pesky bugs. Some even look kinda like tiny puppies with wings. Seriously—Google “fruit bat.” You’ll thank me later.
So while your origami bat might be made of paper, it’s inspired by some real-life nocturnal heroes.
Learning Moments (a.k.a. How Origami Makes You a Secret Genius)
Folding origami isn’t just fun—it secretly teaches you all kinds of cool stuff:
- Patience – Because good folds take focus.
- Geometry – Yep, those triangles and lines are math in disguise.
- Creativity – Every bat you make can be a little different.
- Confidence – From “I can’t” to “LOOK WHAT I MADE!”
So every time you fold something new, you’re basically leveling up in real life. Like a crafting ninja.
My Bat Didn’t Turn Out Perfect… Is That OK?
HECK YES.
Origami isn’t about perfection. It’s about trying, messing up, laughing at the weird folds, and giving your oddly shaped bat a name like “Floppy Fred” or “Sideways Samantha.”
In fact, I still have a crooked one I call Sir Wobble Wings. He’s the leader of my bat squad.
Wrapping It All Up (Like a Cozy Little Bat Blanket)
Let’s be real: folding a bat from a square piece of paper feels like magic. You start with something flat and kinda boring… and end up with a creature that could totally star in its own comic book.
So grab a friend, your little brother, your grandma—heck, even your cat might want to supervise—and start folding.
And if you mess up? Laugh. Crumple it. Try again. Because every fold is part of the fun.
Final Challenge For You:
Can you make:
- A bat family (Mom, Dad, Baby)
- A rainbow bat (use colorful paper!)
- A GIANT bat (use wrapping paper or poster board)
Send pics to your friends. Stick ’em on your fridge. Or just keep them hanging above your bed to ward off nightmares and inspire cool dreams.
Bats aren’t just for Halloween. They’re for anytime you want to bring a little winged wonder into your day.
Now go! Make that first fold. I’m rooting for you.
Happy folding, future Origami Master.